- Go to Purchases Orders - Create Purchase Order and fill in the fields.
- Enter the supplier number or start typing the supplier name in the Supplier No field, the autocomplete functionality will then offer you a list of suppliers to choose from. Alternatively, click on the selection button to select a supplier from the registry.
At the top left hand side, you will see the next available Purchase Order Number that has been allocated automatically. This purchase order number is a preliminary number as long as there is a * after it.
- If the PO is to be recorded against a specific Project and/or Cost Centre, enter the information in the relevant fields in the header. Otherwise click on the selection button to select from the list of available projects/cost centres. These selections will be applied to each item row.

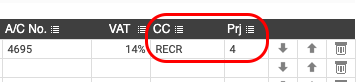
- If you want to allocate a different project/cost centre to each items row, enter your selections manually in the Prj and CC columns. See below.
- The fields Payment Terms and Our Customer Number, Our reference, Your Reference as well as Currency are automatically filled in if the information has been recorded for the supplier in the Supplier Registry.
These fields can always be altered when creating the PO.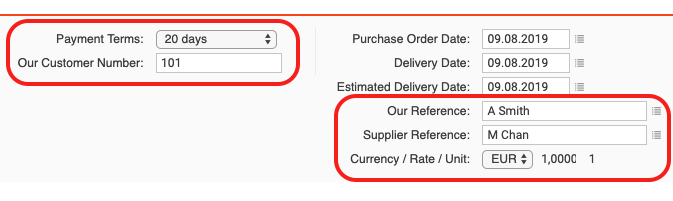
- The current date is shown as the Purchase Order Date, this can be changed either manually or by selecting a date from the calendar. The Delivery Date and Estimated Delivery Date are set manually in the PO or with help of the calendar.

- In the section Purchase Order Text and Address:
- In the field Purchase Order Text, enter the text you want to appear on your purchase order or choose from the menu via the selection button.
- In the field Notes, enter any internal notes you feel you need on this specific PO. Internal notes are not printed on the PO.
- Check and edit the fields for Invoice and Delivery Address if necessary.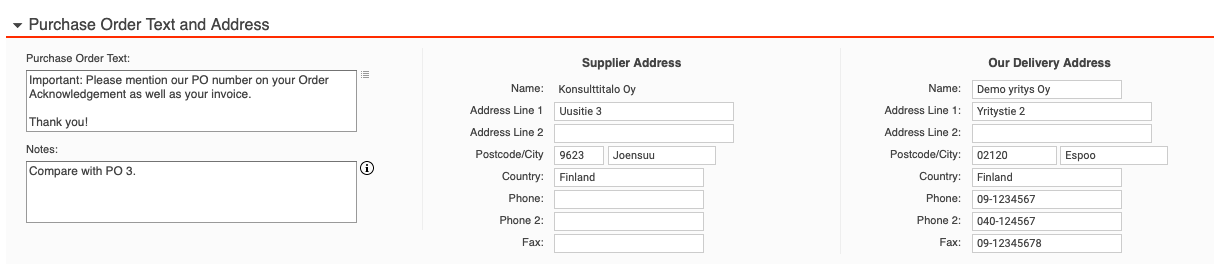
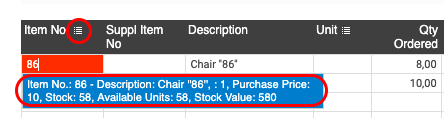
- Register items in the rows by typing the item numbers or names, alternatively, retrieve them from the registry via the selection button.
- Enter the quantity you want to order in the Qty Ordered column.
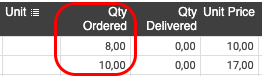
If you want to change the way the quantity is presented in the PO you can alter the number of decimal places used in the Quantity column. It is done under Settings - Purchase Order/ Invoicing/Sales Order - Invoice Input View.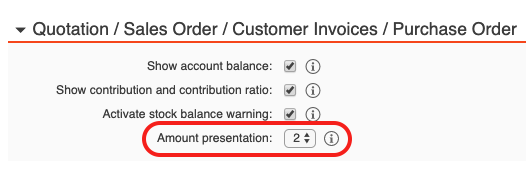
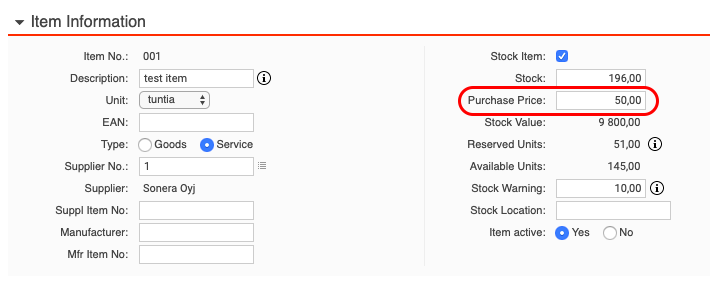
- The rest of the columns are automatically filled in with the information registered on the item in the Registry. The more information you have entered about an item in your item registry, the more columns will be completed automatically in your PO. The price of the item is mandatory and is retrieved from the Purchase Price field in the item registry. It can also be entered manually in the PO.
- If your supplier grants you a discount, it can be specified on each item row either as a percentage or the exact amount (in currency). Click directly in the discount column, as shown in the picture below, to switch between percentage and amount of discount.

You can also register a general discount in percent (%) on the total invoice in the footer. See below.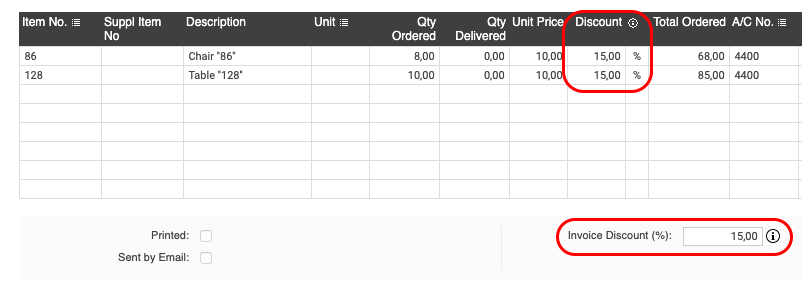
- Account number (A/C No) is determined as follows:

- Primarily by the purchase account registered on the item in the Item registry in the Accounts Information section.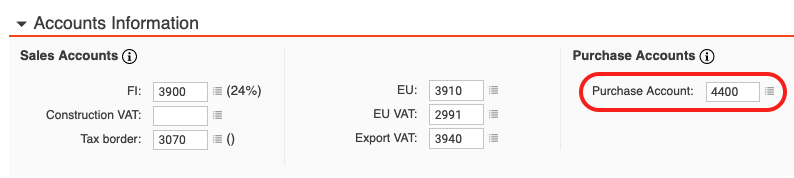
- Secondly by the purchase account registered on the supplier in the supplier registry.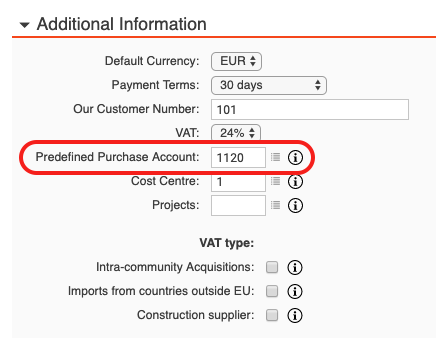
- Lastly, by the default purchase account set under Registry - Chart of Accounts - Default Accounts - Purchases.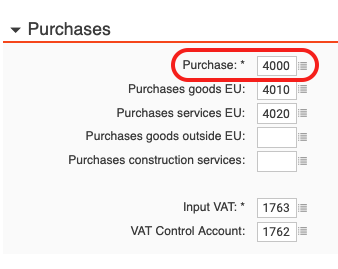
- The VAT rate is determined by
- Firstly by the settings registered on the Supplier in the registry, for example if the Supplier is based in a country outside or within the EU
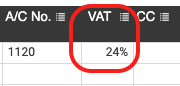
- Secondly, the sales account registered on the Item in the Item registry.
When an item is registered on a purchase order, the application looks at what VAT rate is registered on the sales account registered on the Item.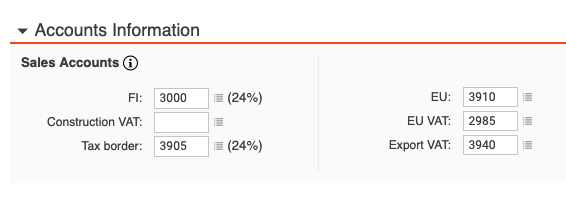
- Lastly, if nothing is registered on the supplier and no sales account is registered on the item either, the application gets the VAT rate from the default sales account registered under Registry - Chart of Accounts - Default Accounts - Sales.
- If required fill in the columns for Cost Centre (CC) and Project (Prj).
- If you want to move item rows, you can click on the arrows on the right hand side to move rows up or down. To delete the content on a row, click on the Recycling bin icon on the far right hand side.
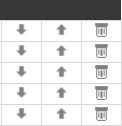
If you cannot see the arrows, you need to click on the icon show / hide row tools up in the right corner.
- When you are satisfied with your PO, click on Save at the bottom of the page.
Have more questions? Submit a request