When you have created your own template, you can edit it in the template editor.
- Go to Settings - Purchase Order/Invoicing/Sales Order - Printout Templates.
- Choose your own template from the section Own Templates by clicking on it.

- Open the template in the template editor which consists of three sections:
- Properties in the top.
- The Template Preview in the middle, where you can preview the invoice. Here you can see what you are creating while you create it.
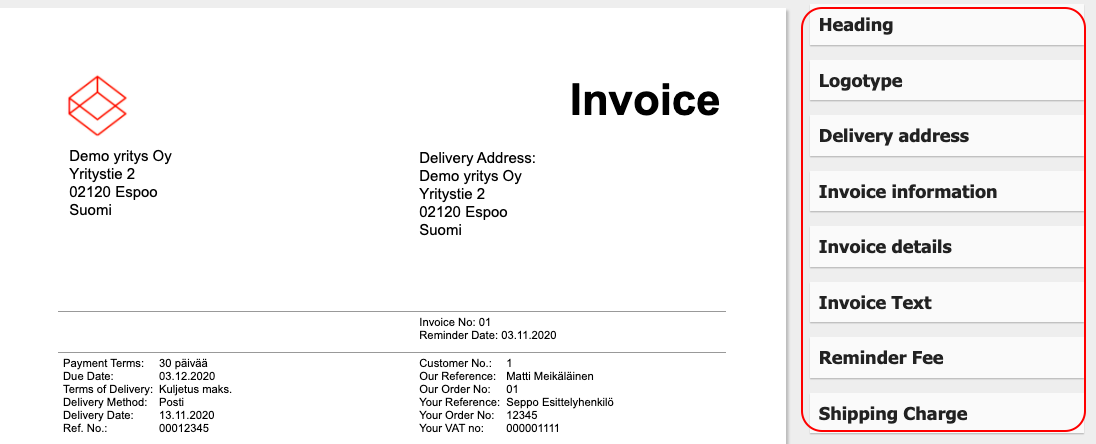
- A column with drag and drop elements on the rights hand side. These can simply be dragged onto the invoice if they are to be used or dragged off if they are to be removed.

If you move your cursor over the invoice the names of the main sections of the invoice are displayed. Click on a section's name if you want to open the column Settings. See below.

In the bottom right you find the button Save. Remember to save the progress from time to time while you are working in the template. The button Cancel allows you to leave the editor without saving any changes.
The Properties Section
In the properties section you can make the following settings:- Change the name of the template you are working on if needed. Remember to click Save in the bottom to save your changes.

- You can see which type of template you are creating. This information is already stated when you create the template.
- Select which part of the printout you want to show in the preview view. This is useful if the different pages of the invoice look different, for example when the header is only displayed on the first page and the footer is only displayed on the last page, while the other pages only contain item rows.

- Choose the font and font size (up to 12 points) which should be used as standard for the printout template.

- In the bottom part of the page you can find the preview function.

Here you can choose a specific invoice, sales order or quote to preview your template with.
Enter the document number in the autocomplete field to select a specific document you want to preview the template with.
Click on the button Preview if you want to preview the template using the chosen document. If you finish the session, the choice disappears. - In the Properties section you can also find a clickable link which will take you directly to the list of variables.

Preview Section
In the Preview section you can see that the invoice is split up into 5 main areas if you move your cursor over the invoice from top to bottom:
Header:
Details:
Item List:
Total:
Footer:
In turn, each section is made up of blocks. See below the Details section contains sub-blocks: Logo, Heading, Address, Delivery address, Invoice information, Free Text, and 2 invoice details blocks.
The number of blocks in each section is free for you to set by dragging blocks onto the template.
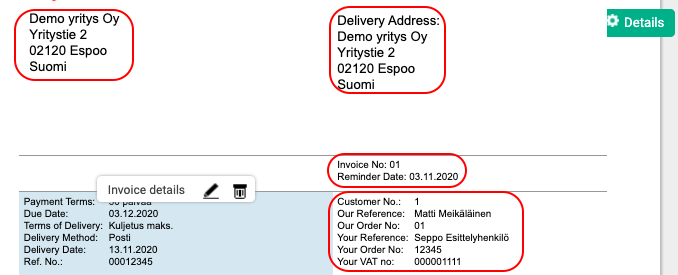
Each section can be made larger or smaller by dragging the section divider up or down. Click on the dividing line and simply drag it up or down. The same is true for broadening and narrowing blocks.
Each block of information can also be edited to suit your needs. If you mouse over a particular block, the name of the block appears together with two options. See below.
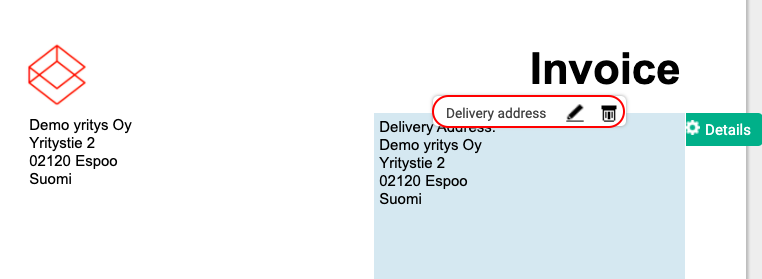
Click on the pen to edit the block or the bin to delete the block.
If you click on the pen an editing window for that specific block appears and you have the possibility to edit Text, Layout as well as the information contained in the block.
The Text tab
At the top of the box you can choose between the Text and Layout tabs. See below.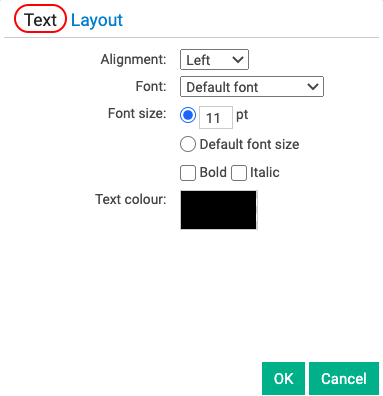
In the Text view you can change:
- The Alignment of the text within the block (Left, Centre, Right).
- The Font to be used within that specific block.
- The Font Size with no limit to the size. A preview is offered in the textbox at the side. See below.
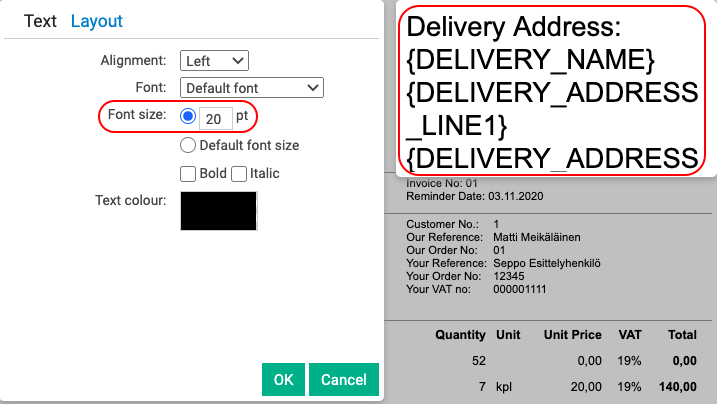
- You can also choose if the text is to be Bold or Italic by checking the respective boxes.
- Choose a text colour via the colour picker. Simply click on the colour box for the colour picker to appear, then select where on the 2 colour scales you want choose your colour from. See below.
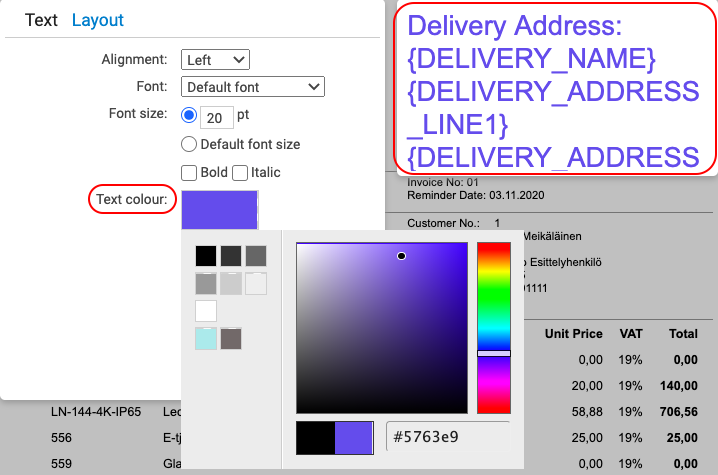
This will set the colour of the text in the box. You see a preview in the text box at the side.
Note: In the colour picker you will see that all your previously used colours are saved. See below the blue recently used in one block is now also available to be used in another block.
If you have a Client Manager and have set theme colours in your account, those colours will also appear as (swatches) choices here.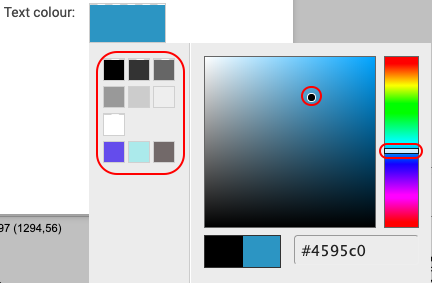
- When you are satisfied, click on OK to leave the editing view. If not click on Cancel and the change will not be displayed in the preview section.
Note that you need to Save if you want the change to be permanent in the printout template.
The Layout tab
Click on the Pen Icon ![]() and then on Layout. See below.
and then on Layout. See below.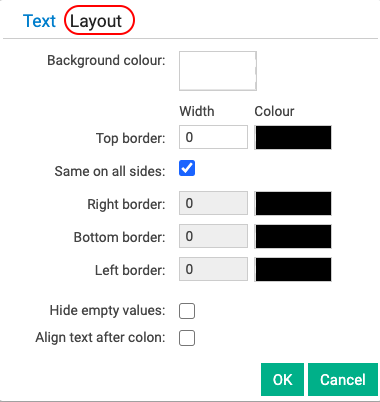
In the Layout tab you can:
- Choose a background colour with the colour picker as described above. See below.

- You can create borders for your boxes, identical or different on all sides. Every border line can be given a different colour and a different width. If you want to create different borders uncheck the box Same on all sides.
- Width determines the thickness of the border line, 4 being the thickest and 1 the thinnest.
- Colour determines the colour of the border line via the colour picker as explained above. You can see the result of what you are doing in the preview window at the side. See below.

- Check the box Align text after colon sign if you want the text to align after the colon as below:
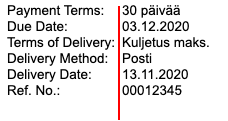
If the box is not checked the text will appear as follows (depending on the alignment you chose under the Text tab):
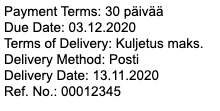
- Click on OK to leave the view and remember to Save if you are happy with what you have done.
The Content or Text window
If you mouse over an information block and then click on the pen icon to edit it, see below:
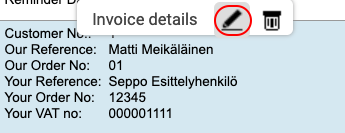
…the Content or Text window will automatically appear and be editable.
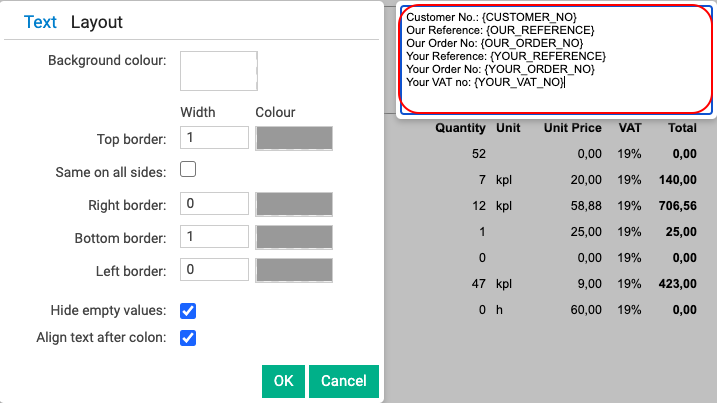
Here you can edit the information in the field by changing the name of the fields and/or the information that is entered from other places in the application by changing the variables.
Tip:
A list of the Variables that can be used in the printout template can be found here.
What is a variable:
In the content you may see capitalised words surrounded by braces, such as "{INVOICE_NO}". Those words are variables and will be replaced by the indicated data when you later print your invoice. You can see this in action when you click OK in the block editor. The variable should be replaced with a dummy value, for example the actual invoice number.
Editing the Item list Section
The Item list section is built up slightly differently from the other sections. Unlike the other sections it consists of one block only which is also called Item list; this block can only be edited and not removed. No other blocks can be dragged onto the item list section either.
Click on the pen icon to edit the section.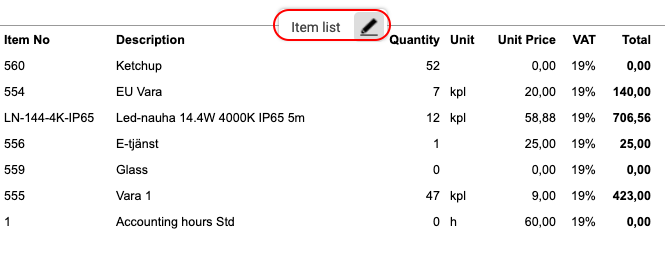
In the Item List, the edit window contains 3 tabs:
- The Heading row tab
- The Item row tab
- The Columns tab
The heading row tab affects the item headings. See below.

The Item rows tab affects the invoice items and how they appear in the invoice. The block is edited in the same way as described above except that here you have 2 background colour choices for the odd and even rows in the item list. See below.

In the Columns tab you can select which column you want to edit in the drop down menu Edit column.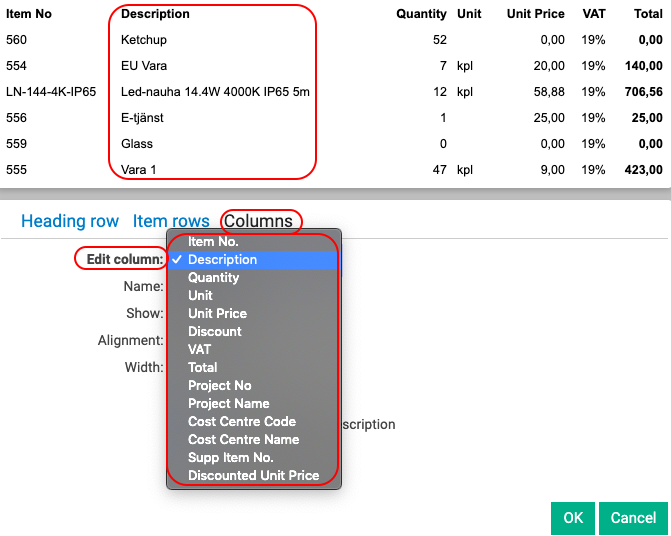
- You can change the name of the column or remove its name completely from the printout. See below.
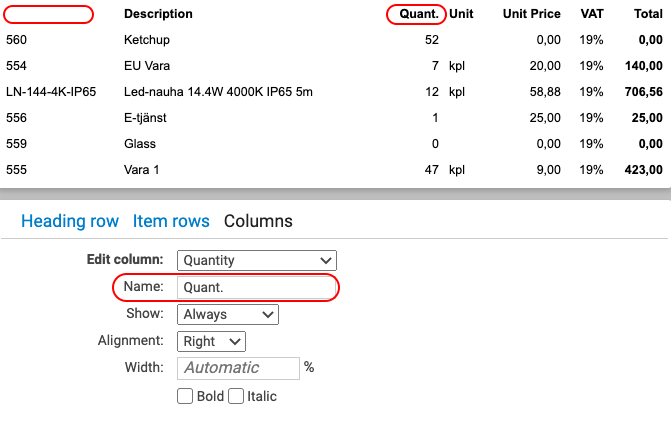
- You can make columns disappear by choosing Never in the Show drop-down window.
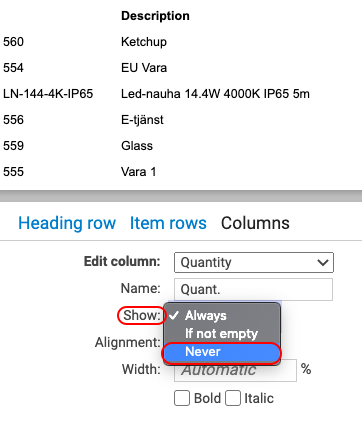
-
If you choose Always, the column will always be visible. And if you choose If not empty, the column will be displayed only if there is information to be displayed on the specific invoice you are printing.
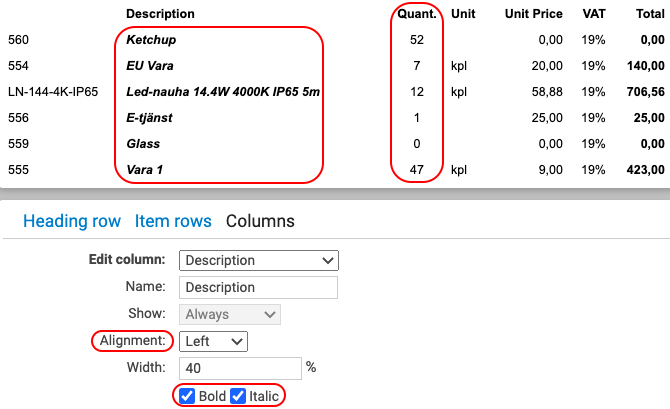
- In the Alignment drop down you can choose between Left, Centre, and Right. See below the Quantity column has been centred.
- Text can be made Bold or Italic or both as in the Description column. See below.
Adding or Removing blocks
The main sections of the invoice cannot be removed but all the blocks that constitute them can be deleted by clicking on the bin or simply dragging them off the side of the invoice (exception: Item list).
Note: Deleting blocks does not delete them from the drag and drop menu.
Blocks can be added by dragging them from the Drag and Drop column onto the invoice where they can be resized and edited. There is no limit to how many blocks can be added to any part of your printout template.
The Drag & Drop Column
The Drag and Drop column offers an array of different ready to use blocks containing information you may find useful to include on your printout template. Their names indicate their contents.
Simply drag and drop the desired block onto the template where you want it to appear. The content of the block will then automatically appear in the preview.
You are then free to edit and resize the block. You can add the same block several times if you wish.
The Image Block
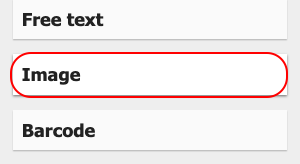
The Image block, at the bottom of the drag and drop column enables you to include images other than your logotype or create a template with a second logotype for example.
To be able to use the image block you need a license for Briox Archive where you can store your images internally.
Drag and drop the block onto the template. An editing window appears where you can choose the picture to be displayed on your template.
Click on the image to get a preview.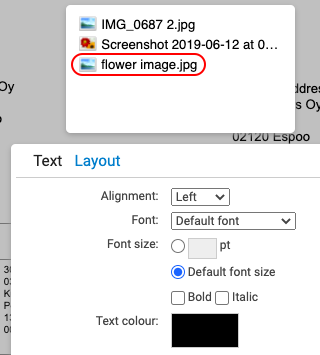
Click on OK to exit the window or continue editing the other features available under the Text and Layout tabs. See Editing your blocks. The size of the image can be adjusted in the template by dragging the lines.
The Settings Column
In the Settings column which you open by clicking on the section name, you determine how the different blocks of the invoice are to appear on the pages.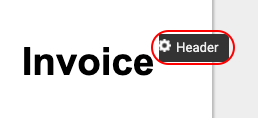
For example you can decide to have the Header and Details on the first page only, while Totals and the Footer will appear on the last page only. See below.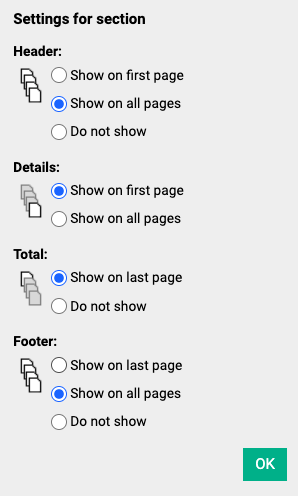
Click on OK to leave the Settings column and remember to Save to make the changes permanent.

Comments
0 comments
Please sign in to leave a comment.