Creating recurring invoices means that from your contracts, you create invoices that are sent to your customers. You decide how far ahead in time you want the invoices to be created. When the invoices are created, they can be found in the regular customer invoice list.
1. When you want to create recurring invoices, go to Invoicing - Recurring Invoicing - Create Recurring Invoices.
2. Highest invoice date until now informs you that one or more invoices have been created with this invoice date, which is the latest chronologically. That way you always know where you left off your invoicing.
3. You search for which contracts you want to create invoices for by entering a date in the fields Start Date and / or End Date. Contracts with identical or earlier dates are presented in the invoice list. Enter the date manually or select a date via the calendar which appears when you click on the selection button. You can combine the fields or use them separately.
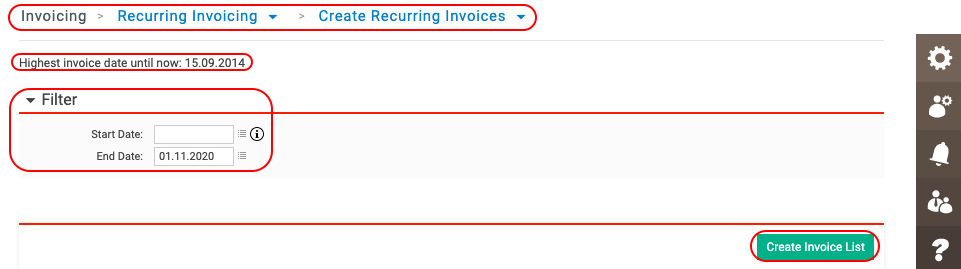
4. Click on the button Create Invoice List. A list according to your selection is displayed, and all contracts in the selection are checked. If there are contracts you want to delay creating invoices for, deselect them by clicking out the tick box. They will be presented again next time you create invoices.
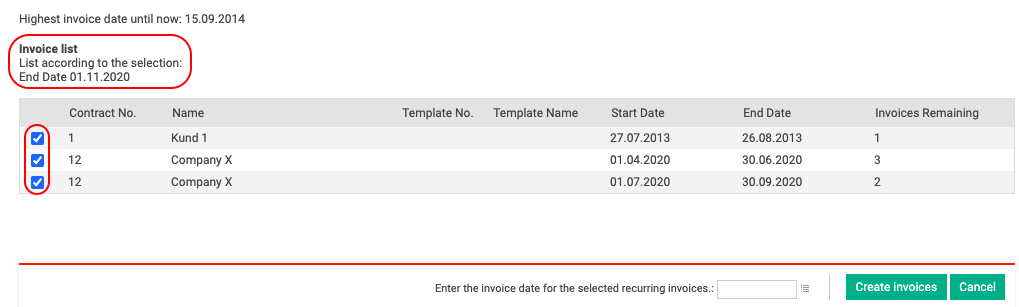
5. When you are satisfied with the list, select an invoice date for your invoices. Then click on Create Invoices. If the list is not correct, click on Cancel instead.

6. The contract invoices land in the regular invoice list and are displayed as not posted. They are marked as invoice type REI, for Recurring Invoices. Your recurring invoices can now be handled in the same way as ordinary invoices regarding accounting, printing, payment, etc.
