You can create a credit note in two different ways. You can either credit an existing invoice, or create a new credit note from scratch. You can see how to nett invoices against each other later in this text.
Create a credit note from an existing invoice
- Go to Invoicing - Customer invoices. Find the invoice you want to credit and click on it to open it.
- The invoice must be posted for you to be able to credit it. Click on Create Credit Note in the action bar at the bottom of your screen.

If the button is grey or not visible, it may be due to the fact that the invoice is not posted, or that it is already paid in full.
Note:
The button can be used only once; that is to say, if you have already created a credit note for the actual invoice, you cannot do so again. - A pop-up asks you to confirm if you want to credit the invoice. Click on OK.
- A new invoice opens, which looks exactly like the original one, but instead, all rows have a minus sign in front Quantity, making the Total amount negative. Any shipping and invoicing fees are now also negative. Make any necessary changes and click Save or Post.

- A notification informs you that you have created a credit note. You can click on it to go to the credit note.
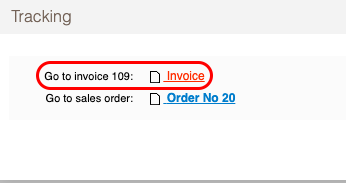
- In the header of the credit note, you can click on the tracking icon to see what invoice the credit note stems from.


Create a new credit note from scratch
Go to Invoicing - Customer Invoices - Create Customer Invoice. A new invoice opens.
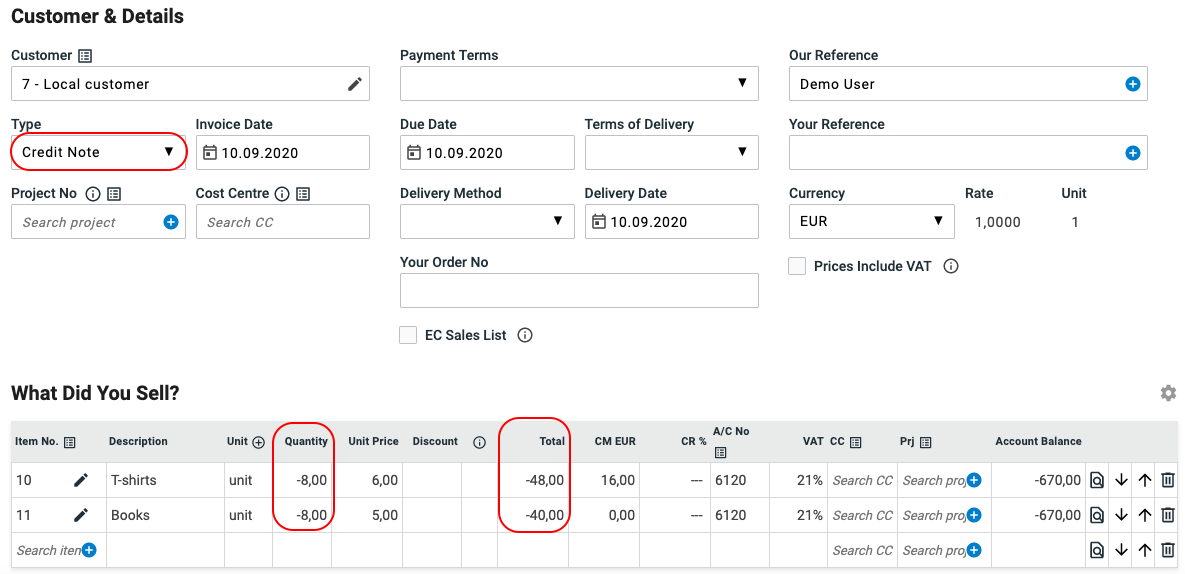
In the drop-down menu in the header select Credit note instead of Invoice which is pre-selected. Select the customer and fill in all the information as when you create a "normal" invoice.
When you add items, the application automatically enters a minus sign in front of the Quantity , so that the totals become negative. This also applies to shipping and Invoice charges if you use them.
In the customer invoice list you can identify the invoice as a credit note because the total amount is negative, and in the Type column it is marked as CRN for Credit Note.
Netting invoices against each other
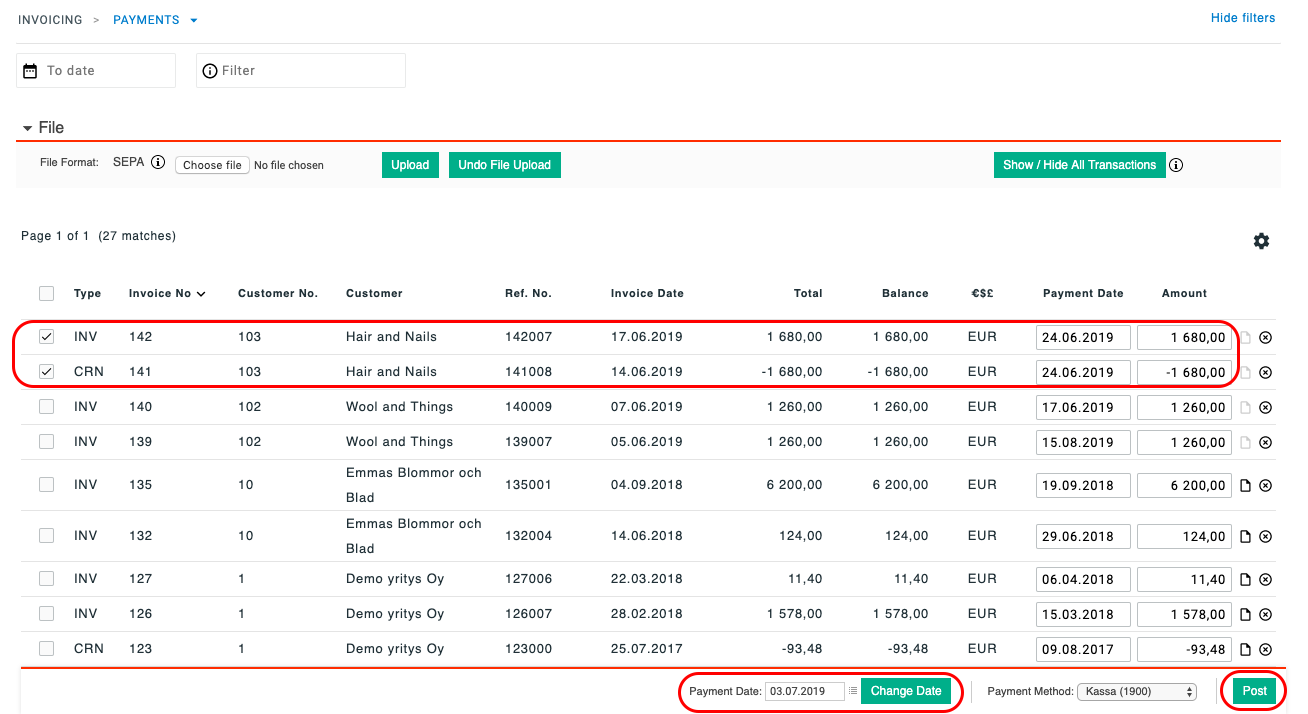
As long as invoices are not posted as paid, they remain in the subledger. If you want two invoices to be netted against each other (that they cancel each other) then you must post both the original invoice and the credit note as paid.
Go to the Payments tab and find both invoices. See below. You will see that the sums of the invoices cancel each other out. Tick the boxes on the invoices you want to nett. Usually, the same payment dates are used on both payments when doing this kind of netting. Finish by click on Post and they will then no longer be part of your subledger.


Comments
0 comments
Please sign in to leave a comment.