Opening the tool
In the main left hand menu, click on Admin Tool.
The tool is a three-step wizard: Source → Settings → Destination, with an Activity log button in the top bar to review or undo past copies.
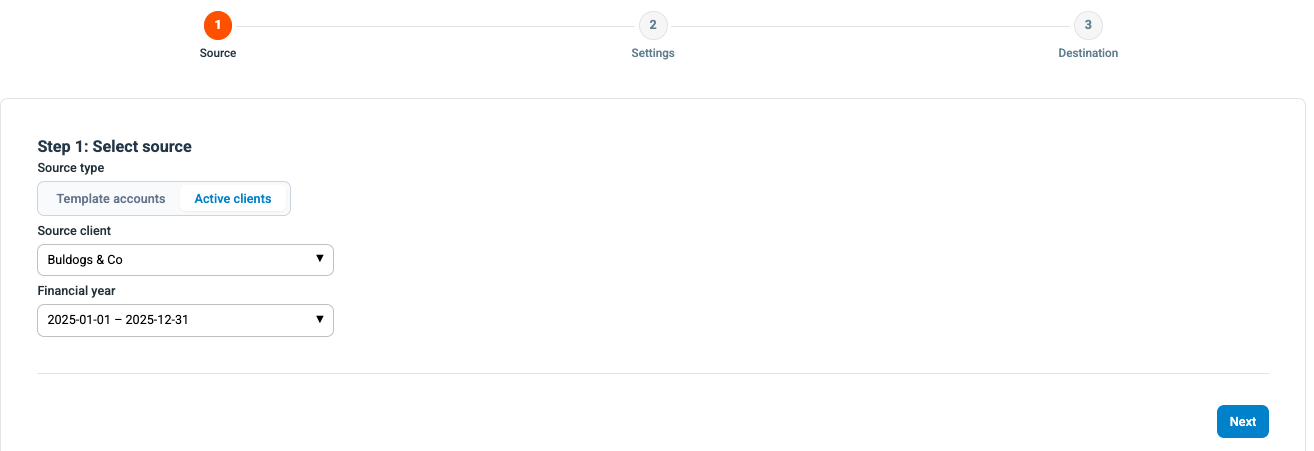
Step 1 – Select the source
This is the client you copy from.
- Choose a Source type:
- Template accounts – copy from one of your template clients (the usual choice).
-
Active clients – copy from a real, live client.
- Select the Source client, you can search by name or organisation number.
- Select the Financial year to copy from.
- Click Next.
Step 2 – Choose what to copy
Settings are organised into collapsible groups.
Tick the item groups you want to copy.
Each group has a Select all / Clear shortcut, and each item shows how many records it contains.
The groups are:
-
Chart of accounts
- Account classes
- Accounts
-
Financials
- Default accounts
- Report generator templates
- Income tax code mapping 🇫🇮
- Notes to the financial statements 🇫🇮
-
Banking & journal
- Journal templates
- Journal types
- Automation settings
- Match rules
- Payment methods
- Automatic matching settings
-
Registers
- Assignment Templates
- Suppliers
- Customers
- Items
- Currencies
-
Layouts
- Printout templates
- Printout default settings (these are the choices about which printout template and print options are set as the default for each document type — e.g. the default template used for invoices, orders, order confirmations, and reminders).
-
System
- The Archive folder structure
- Expense categories
- Payment terms
- Terms of delivery
- Custom asset templates,
- Company settings (activate functionality)
- Role templates
Once you have selected everything you want to copy, click Next.
A few notes on what you will see:
Sub-selections
For some items you can click into a sub-selection to copy only specific records. See below the possibility to copy a specific account class
Leaving the selection as Copy all (pick to narrow) copies everything of that type. The numbers of items to be copied or selected to be copied are displayed.
Conflicts management
For each group you can determine how the tool is to behave in case of a conflict
The Upon conflict drop down controls what happens when the target already has that setting:
- Merge (only add new) – adds anything missing, leaves existing items untouched. Safest.
- Overwrite existing – replaces the target's version with the source's version.
-
Skip if exists – only adds items that don't exist yet; changes nothing that's already there.
Dependencies
If you pick something that depends on another group (for example, accounts that reference the chart of accounts), you'll get a "Missing prerequisites"warning and need to include the prerequisite before continuing.
Step 3 – Choose destinations and run
-
Select the clients that should receive the settings. You can search the list, use select-all, and see each client's status. Locked clients cannot be selected.
You also have the option to tick "Also copy to the client manager account" to include your own agency account.
- Click Preview
-
Review the preview.
For each destination you'll see a per-category breakdown of:
- Add – new items that will be created
- Overwrite – existing items that will be replaced (check these counts carefully)
- Skip – items already there that will be left unchanged
- If a client has no financial year, you'll be asked to enter From/To dates to create one before copying.
- You may see a warning if a client is missing something the copied items refer to.
- Tick "I have reviewed the changes above", then click Execute copy.
- Watch the progress as each destination is processed, then click Done when it finishes. You'll get a per-client result summary.